GPS project: show me something
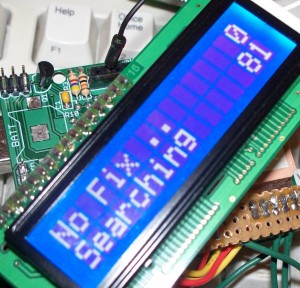 One of the great things about Arduino is the maturity of the product, and the user base that has grown up around it. I have found that there aren’t many problems that others haven’t already solved, and there is a large base of libraries available to do many of the chores that need to be done in an average project.
With a simple “#include”, 7 or 8 jumper wires from the breadboard to the Arduino, and some sample code, the LCD was up and running. It did take a little tinkering to get the right amount of resistance between the contrast pin and ground. I’ll include a trim pot on the final board so that it will be adjustable.
Once I had the LCD sample working I moved to the other goody that was in the box from Hacktronics, the A7 Bluetooth module. After several hours of messing with the device I came to the conclusion that it was faulty. I could pair with it, and two new serial ports were installed on my PC, but as soon as a connection attempt was made, it would rapidly disconnect from the PC.
A little before 1 AM I sent a quick note through the support form on the Hacktronics web site explaining the issue that I was having, and asking for any insight they might have. At 1:20 AM I received a response! Wow. Long story short, by the next afternoon Tom from Hacktronics agreed that a replacement would be in order, since we couldn’t figure out how to get it working, and offered to ship one to me that day. No shipping it back and waiting, no credit card, just action to make it right. While it was disappointing to not be able to proceed with the Bluetooth device, I was happy that it would be resolved over the next few days, and happy that Hacktronics seemed serious about taking care of the customer.
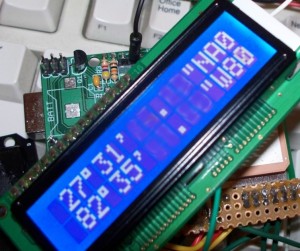
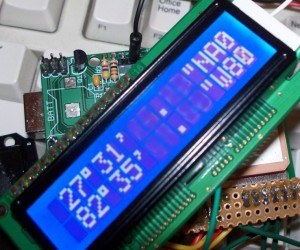
Now it was time to get some usable data onto the LCD screen. Basically I took two Adafruit sample sketches and started hacking them together. Leaving the bulk of the logging sketch in place, I inserted sections of the parsing sketch that produced the actual latitude and longitude, and worked them in at the right place in the loop so that the data could be parsed and displayed in real time. I also reworked the error routine that blinked an LED on the shield and added output to the LCD, and added a display screen so that while searching for a satellite fix, a progress message appears ( allowing me to know that the device is working).
Along this journey I also looked into using the TinyGPS library. While it does a nice job of handling the core GPS parsing, I still had the primary desire to log the raw data (which meant handling the NMEA sentences), and TinyGPS didn’t output the latitude and longitude in the format that I wanted, so it didn’t make sense to inherit the overhead of the library when I was going to have to reformat and handle the data anyway.
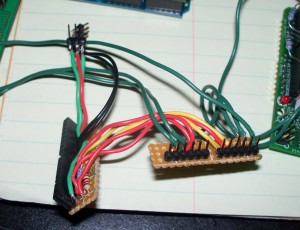
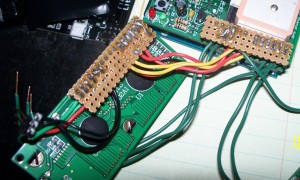
My next though was on moving the LCD from the breadboard to the Arduino. I thought that ultimately I would end up using a Proto Shield to hold it in the final configuration, but decided to put it on a temporary shield made from a piece of perfboard that I picked up at Radio Shack. This is where I ran into the only “flaw” in the Arduino design. The two 8 pin headers don’t line up to a standard .1 hole spacing, so you must use a custom made board for prototyping on shields. I chose to simply cut two “header strips” and attach pins to them. This allowed me to share power and ground with other devices (or the breadboard) while working out the next set of features.
Harness made from Perfboard; The set of wires at top right are soldered directly to male header pins due to space issues (and since the pins aren’t shared).
The bottom left board with the female headers is for the LCD itself, and the bottom right slides onto the two 6 pin headers on the Arduino.
Partially hooked up.
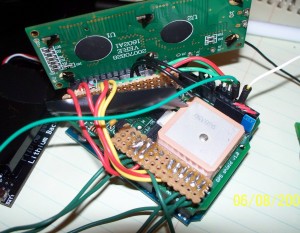 Hooked up to both headers. Notice the electrical tape on the bottom of the LCD board to keep anything from smoking!
At this point there was work left to be done for the LCD, mainly the menu screens, and additional GPS data (direction of travel, speed, elevation, etc), but it would have to wait, since my replacement Bluetooth device had arrived from Hacktronics!

